
DIY Nail Polish is Perfect for Kids and Summer Pedicures
Last updated on March 10, 2025 by Jess Healey
Originally published on September 6, 2017
[cs_content][cs_section parallax=”false” separator_top_type=”none” separator_top_height=”50px” separator_top_inset=”0px” separator_top_angle_point=”50″ separator_bottom_type=”none” separator_bottom_height=”50px” separator_bottom_inset=”0px” separator_bottom_angle_point=”50″ _label=”Intro” style=”margin: 0px;padding: 20px 0px 0px;”][cs_row inner_container=”false” marginless_columns=”false” style=”margin: 0px auto;padding: 0px;”][cs_column fade=”false” fade_animation=”in” fade_animation_offset=”45px” fade_duration=”750″ type=”1/2″ style=”padding: 0px;”][cs_text][dropcap]I[/dropcap] have a five year old daughter who is a girl in every sense of the word. She loves Princesses, pink, purple, having her hair done in fancy styles, pretty dresses, and having her nails done.
The problem with conventional nail polish is that it is made with harmful chemicals that are often highly toxic, and not something that I want on my daughter’s nails now that I know better.
I knew that I needed to learn how to DIY nail polish and began my search for homemade options, and quickly found out that this can be a tough one![/cs_text][/cs_column][cs_column fade=”false” fade_animation=”in” fade_animation_offset=”45px” fade_duration=”750″ type=”1/2″ style=”padding: 0px;”][x_image type=”none” src=”https://pronounceskincare.com/wp-content/uploads/2017/08/Nail-Polish-Pronounce-Skincare-DIY-Blog-Shop-Pinterest.jpg” alt=”” link=”false” href=”#” title=”” target=”” info=”none” info_place=”top” info_trigger=”hover” info_content=””][/cs_column][/cs_row][/cs_section][cs_section parallax=”false” separator_top_type=”none” separator_top_height=”50px” separator_top_inset=”0px” separator_top_angle_point=”50″ separator_bottom_type=”none” separator_bottom_height=”50px” separator_bottom_inset=”0px” separator_bottom_angle_point=”50″ _label=”Content” style=”margin: 0px;padding: 0px;”][cs_row inner_container=”false” marginless_columns=”false” style=”margin: 0px auto;padding: 0px;”][cs_column fade=”false” fade_animation=”in” fade_animation_offset=”45px” fade_duration=”750″ type=”1/1″ style=”padding: 0px;”][cs_text]Some of the more toxic, seriously offending ingredients are:[/cs_text][x_feature_list animation_offset=”50″ animation_delay_initial=”0″ animation_delay_between=”300″][x_feature_box title=”Formaldehyde” title_color=”” text_color=”” graphic=”numbers” graphic_size=”25px” graphic_shape=”circle” graphic_color=”#ffffff” graphic_bg_color=”hsl(180, 100%, 25%)” align_h=”left” align_v=”middle” side_graphic_spacing=”20px” max_width=”none” child=”true” connector_width=”1px” connector_style=”dotted” connector_color=”#272727″ graphic_animation=”swing”]This is a known human carcinogen and can cause irritation of the eyes, skin, nose and throat. (1)[/x_feature_box][x_feature_box title=”Toluene” title_color=”” text_color=”” graphic=”numbers” graphic_size=”25px” graphic_shape=”circle” graphic_color=”#ffffff” graphic_bg_color=”hsl(110, 32%, 62%)” align_h=”left” align_v=”middle” side_graphic_spacing=”20px” max_width=”none” child=”true” connector_width=”1px” connector_style=”dotted” connector_color=”#272727″ graphic_animation=”swing”]This is a potent neurotoxicant that can irritate, cause breathing issues and may cause developmental damage to the fetus in pregnant women. (2)[/x_feature_box][x_feature_box title=”Phthalates” title_color=”” text_color=”” graphic=”numbers” graphic_size=”25px” graphic_shape=”circle” graphic_color=”#ffffff” graphic_bg_color=”hsl(180, 100%, 25%)” align_h=”left” align_v=”middle” side_graphic_spacing=”20px” max_width=”none” child=”true” connector_width=”1px” connector_style=”dotted” connector_color=”#272727″ graphic_animation=”swing”]Also known as plasticizers, the full effects on human health are not known right now, but they are suspected to be endocrine disruptors. (3)[/x_feature_box][x_feature_box title=”Bisphenol A” title_color=”” text_color=”” graphic=”numbers” graphic_size=”25px” graphic_shape=”circle” graphic_color=”#ffffff” graphic_bg_color=”hsl(110, 32%, 62%)” align_h=”left” align_v=”middle” side_graphic_spacing=”20px” max_width=”none” child=”true” connector_width=”1px” connector_style=”dotted” connector_color=”#272727″ graphic_animation=”swing”](BPA) is a known endocrine disruptor and is used in nail polish to make it more “elastic.” Exposure to BPA can lead to reproductive disorders, asthma and other issues (4).[/x_feature_box][/x_feature_list][cs_text style=”font-size: 0.8em;”](1) FORMALDEHYDE INFO FROM THE EPA
(2) TOLUENE INFO FROM THE EWG DATABASE
(3) PHTHALATES INFO
(4) EXPOSURE TO BPA INFO[/cs_text][x_image type=”none” src=”https://pronounceskincare.com/wp-content/uploads/2017/08/Nail-Polish-Pronounce-Skincare-DIY-Blog-Shop-Featured.jpg” alt=”” link=”false” href=”#” title=”” target=”” info=”none” info_place=”top” info_trigger=”hover” info_content=””][cs_text]Homemade natural nail polish is kind of a tricky thing, especially when my primary purpose is for a child. I came across a couple of different options that were 100% natural and non-toxic: using alkanet root or using henna powder. Alkanet root is a natural dying agent and will impart a ruby red color. Henna comes in a variety of natural earth colors and the more you apply the darker the color will come out.[/cs_text][cs_text]The issue with both of these methods was the fact that although these obviously do work, what they do to impart color is to stain the nail. You have to be very careful to not get any on the skin (again…it is a stain), and the color is also pretty permanent so it basically stays on while and until the nail grows out…neither of those options would be suitable for my child (or even for myself, to be perfectly truthful!). And not only that, you need to leave them on for a long period of time before removing the mixture.[/cs_text][x_blockquote cite=”” type=”center” style=”font-size: 1.4em;”]When using eye shadow to color your clear nail polish, I recommend using true mineral eye shadow, as they are made without preservatives, fillers, oils and fragrances.[/x_blockquote][x_image type=”none” src=”https://pronounceskincare.com/wp-content/uploads/2017/08/Nail-Polish-Pronounce-Skincare-DIY-Blog-Shop-2.jpg” alt=”” link=”false” href=”#” title=”” target=”” info=”none” info_place=”top” info_trigger=”hover” info_content=””][cs_text]
I found two great references to guide me in Wellness Mama’s post on The Best Non-Toxic Nail Polish Options and also from my friend Katie over at Kitchen Stewardship when she reviewed and ranked the best Nail Polish for Kids. I used those as my basis to find a suitable water-based polish company.
I decided to not care at all about the variety of colors offered, and instead just focused on finding a company that created a safe product in a clear color, as I had decided to make my own color(s) by mixing in mineral eye shadow to the clear polish to create our own custom shade!
I ended up getting both Piggy Paint (the clear topcoat and basecoat) and Honeybee Gardens Watercolors (in clear…but it is not clear like the Piggy Paint is).
Piggy Paint Non-Toxic Basecoat is rated 0/10 on the EWG Skin Deep Cosmetics Database.
Piggy Paint Non-Toxic Topcoat is rated 1/10 on the EWG database.
Honeybee Gardens Watercolors Nail Polish is rated 1/10 on the EWG database.
[/cs_text][/cs_column][/cs_row][/cs_section][cs_section parallax=”false” separator_top_type=”none” separator_top_height=”50px” separator_top_inset=”0px” separator_top_angle_point=”50″ separator_bottom_type=”none” separator_bottom_height=”50px” separator_bottom_inset=”0px” separator_bottom_angle_point=”50″ _label=”Recipe” style=”margin: 0px;padding: 0px;”][cs_row inner_container=”false” marginless_columns=”false” style=”margin: 0px auto;padding: 0px;”][cs_column bg_color=”hsla(110, 32%, 62%, 0.34)” fade=”false” fade_animation=”in” fade_animation_offset=”45px” fade_duration=”750″ type=”1/1″ class=”cs-ta-left” style=”padding: 6px;”][x_custom_headline level=”h2″ looks_like=”h3″ accent=”false” class=”cs-ta-left”]
DIY Nail Polish
[/x_custom_headline][x_custom_headline level=”h2″ looks_like=”h5″ accent=”false”]
Supplies/Ingredients
[/x_custom_headline][cs_text]
- Water-Based, Non-Toxic Nail Polish in clear (Two ideas are Piggy Paint or Honeybee Gardens)
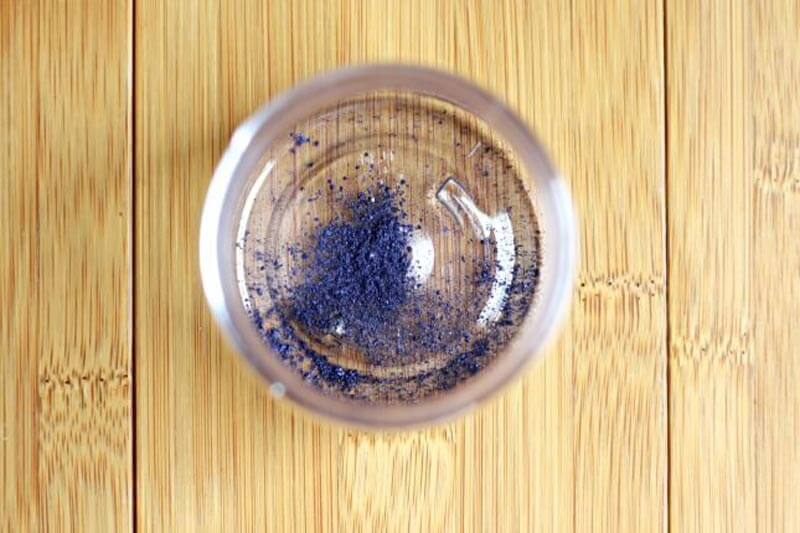
- Non-Toxic Eye Shadow or other makeup powder – mineral is best for this
- Small container (do not use anything you do not want to ruin! There is a possibility you can clean it to reuse, but whatever you have on hand is fine.)
- Toothpick, popsicle stick or another stick for mixing (I ended up using a thin paintbrush with the bristle end removed for this)
[/cs_text][/cs_column][/cs_row][cs_row inner_container=”false” marginless_columns=”false” _label=”New Item 2″ style=”margin: 0px auto;padding: 0px;”][cs_column fade=”false” fade_animation=”in” fade_animation_offset=”45px” fade_duration=”750″ type=”1/1″ style=”padding: 0px;”][x_custom_headline level=”h2″ looks_like=”h6″ accent=”false” style=”color: hsl(180, 100%, 25%);”]Notes[/x_custom_headline][cs_text]
- Put a small amount of finely crushed eye shadow into your disposable container (you can add more as/if needed)
- Open your clear polish and pour the entire bottle into the container on top of the eye shadow
- Use your mixing stick and combine the two very well. It is very important to thoroughly mix and have no clumps, so take your time with this step.
- Test the color on the nail to see if it is to your liking (and remember that you can always apply a second coat if needed to provide more opaqueness)
- Once fully mixed and smooth and the color is to your liking, carefully pour your new nail polish back into the original bottle.
- Screw the cap on and shake the bottle for a good 1-2 minutes to finish incorporating everything together.
- Apply to your nails (or to your favorite little girl’s nails!), following the manufacturer’s drying instructions for best results!!
[/cs_text][x_custom_headline level=”h2″ looks_like=”h6″ accent=”false” style=”color: hsl(180, 100%, 25%);”]Make It[/x_custom_headline][cs_text]
- I noticed that the Piggy Polish was very thin, even once mixed with the purple eyeshadow. It took a good three coats to get the color dark enough that my daughter liked it.
- The Honeybee Gardens polish was thicker to start with, and only took two coats to get the pink that she liked
- Also, please note that Piggy Paint does have a special note that the longer the polish remains on, the more difficult it will be to remove it.
- Of the two brands, the Piggy Paint had no scent at all while the Honeybee Gardens has an ever-so-slight scent.
[/cs_text][x_blockquote cite=”” type=”center” style=”font-size: 1.4em;”]For removal – remember that conventional nail polish remover is very drying and not the best choice out there.[/x_blockquote][cs_text]
**Here is our non-toxic nail polish remover recipe!**
[/cs_text][/cs_column][/cs_row][/cs_section][cs_section parallax=”false” separator_top_type=”none” separator_top_height=”50px” separator_top_inset=”0px” separator_top_angle_point=”50″ separator_bottom_type=”none” separator_bottom_height=”50px” separator_bottom_inset=”0px” separator_bottom_angle_point=”50″ _label=”Shop” style=”margin: 0px;padding: 0px;”][cs_row inner_container=”false” marginless_columns=”false” style=”margin: 0px auto;padding: 0px;”][cs_column fade=”false” fade_animation=”in” fade_animation_offset=”45px” fade_duration=”750″ type=”2/3″ style=”padding: 0px;”][x_custom_headline level=”h2″ looks_like=”h6″ accent=”false” style=”color: hsl(110, 32%, 62%);”]Not feeling particularly DIYish?[/x_custom_headline][cs_text]Simply not enough hours in the day? Pinning more than you could ever tackle these days? No worries. I have got you covered.
Please, head on over to my Pronounce Skincare Shop where I sell my homemade natural products. I love making them for my family and for you![/cs_text][/cs_column][cs_column fade=”false” fade_animation=”in” fade_animation_offset=”45px” fade_duration=”750″ type=”1/3″ style=”padding: 0px;”][cs_text][product id=”19848″][/cs_text][/cs_column][/cs_row][/cs_section][/cs_content][cs_content_seo]I have a five year old daughter who is a girl in every sense of the word. She loves Princesses, pink, purple, having her hair done in fancy styles, pretty dresses, and having her nails done.
The problem with conventional nail polish is that it is made with harmful chemicals that are often highly toxic, and not something that I want on my daughter’s nails now that I know better.
I knew that I needed to learn how to DIY nail polish and began my search for homemade options, and quickly found out that this can be a tough one!
Some of the more toxic, seriously offending ingredients are:
FormaldehydeThis is a known human carcinogen and can cause irritation of the eyes, skin, nose and throat. (1)TolueneThis is a potent neurotoxicant that can irritate, cause breathing issues and may cause developmental damage to the fetus in pregnant women. (2)PhthalatesAlso known as plasticizers, the full effects on human health are not known right now, but they are suspected to be endocrine disruptors. (3)Bisphenol A(BPA) is a known endocrine disruptor and is used in nail polish to make it more “elastic.” Exposure to BPA can lead to reproductive disorders, asthma and other issues (4).(1) FORMALDEHYDE INFO FROM THE EPA
(2) TOLUENE INFO FROM THE EWG DATABASE
(3) PHTHALATES INFO
(4) EXPOSURE TO BPA INFO
Homemade natural nail polish is kind of a tricky thing, especially when my primary purpose is for a child. I came across a couple of different options that were 100% natural and non-toxic: using alkanet root or using henna powder. Alkanet root is a natural dying agent and will impart a ruby red color. Henna comes in a variety of natural earth colors and the more you apply the darker the color will come out.
The issue with both of these methods was the fact that although these obviously do work, what they do to impart color is to stain the nail. You have to be very careful to not get any on the skin (again…it is a stain), and the color is also pretty permanent so it basically stays on while and until the nail grows out…neither of those options would be suitable for my child (or even for myself, to be perfectly truthful!). And not only that, you need to leave them on for a long period of time before removing the mixture.
When using eye shadow to color your clear nail polish, I recommend using true mineral eye shadow, as they are made without preservatives, fillers, oils and fragrances.I found two great references to guide me in Wellness Mama’s post on The Best Non-Toxic Nail Polish Options and also from my friend Katie over at Kitchen Stewardship when she reviewed and ranked the best Nail Polish for Kids. I used those as my basis to find a suitable water-based polish company.
I decided to not care at all about the variety of colors offered, and instead just focused on finding a company that created a safe product in a clear color, as I had decided to make my own color(s) by mixing in mineral eye shadow to the clear polish to create our own custom shade!
I ended up getting both Piggy Paint (the clear topcoat and basecoat) and Honeybee Gardens Watercolors (in clear…but it is not clear like the Piggy Paint is).
Piggy Paint Non-Toxic Basecoat is rated 0/10 on the EWG Skin Deep Cosmetics Database.
Piggy Paint Non-Toxic Topcoat is rated 1/10 on the EWG database.
Honeybee Gardens Watercolors Nail Polish is rated 1/10 on the EWG database.
DIY Nail Polish
Supplies/Ingredients
Water-Based, Non-Toxic Nail Polish in clear (Two ideas are Piggy Paint or Honeybee Gardens)
Non-Toxic Eye Shadow or other makeup powder – mineral is best for this
Small container (do not use anything you do not want to ruin! There is a possibility you can clean it to reuse, but whatever you have on hand is fine.)
Toothpick, popsicle stick or another stick for mixing (I ended up using a thin paintbrush with the bristle end removed for this)
Notes
Put a small amount of finely crushed eye shadow into your disposable container (you can add more as/if needed)
Open your clear polish and pour the entire bottle into the container on top of the eye shadow
Use your mixing stick and combine the two very well. It is very important to thoroughly mix and have no clumps, so take your time with this step.
Test the color on the nail to see if it is to your liking (and remember that you can always apply a second coat if needed to provide more opaqueness)
Once fully mixed and smooth and the color is to your liking, carefully pour your new nail polish back into the original bottle.
Screw the cap on and shake the bottle for a good 1-2 minutes to finish incorporating everything together.
Apply to your nails (or to your favorite little girl’s nails!), following the manufacturer’s drying instructions for best results!!
Make It
I noticed that the Piggy Polish was very thin, even once mixed with the purple eyeshadow. It took a good three coats to get the color dark enough that my daughter liked it.
The Honeybee Gardens polish was thicker to start with, and only took two coats to get the pink that she liked
Also, please note that Piggy Paint does have a special note that the longer the polish remains on, the more difficult it will be to remove it.
Of the two brands, the Piggy Paint had no scent at all while the Honeybee Gardens has an ever-so-slight scent.
For removal – remember that conventional nail polish remover is very drying and not the best choice out there.**Here is our non-toxic nail polish remover recipe!**
Not feeling particularly DIYish?Simply not enough hours in the day? Pinning more than you could ever tackle these days? No worries. I have got you covered.
Please, head on over to my Pronounce Skincare Shop where I sell my homemade natural products. I love making them for my family and for you!
Sale!
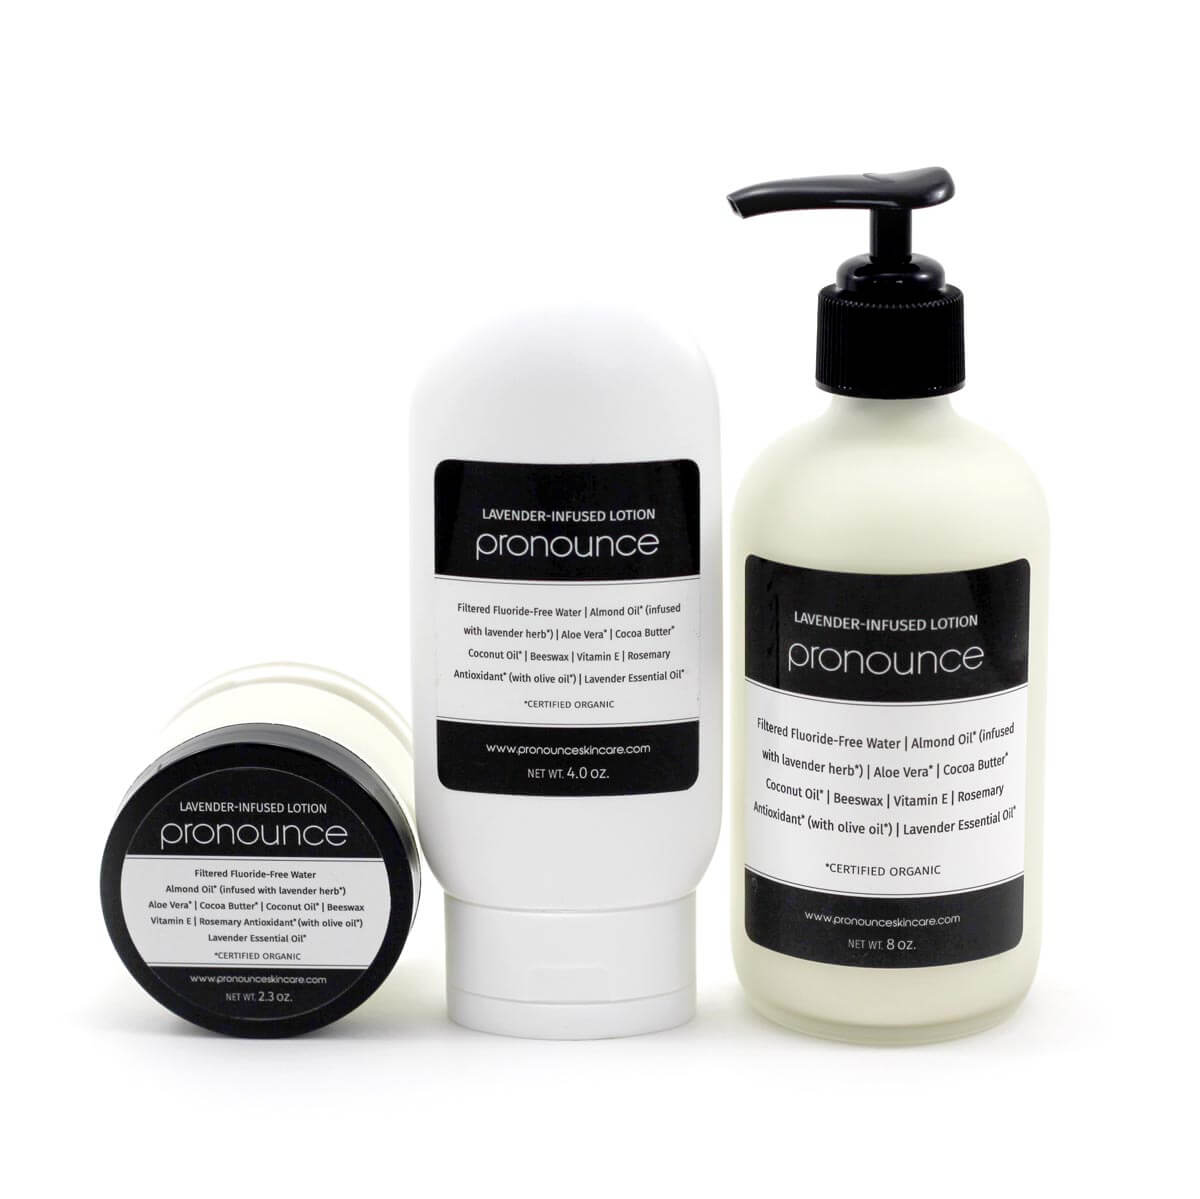
Rated 4.96 out of 5Body & Hand Lotions
$25.00 – $52.00
Select options

 [/cs_content_seo]

I’m going to have to try this for my little princesses. They love painting their nails, but I have such a hard time letting them do it.
I stumbled upon this page while I was searching for some diy solid perfume receipies and OMG I’M IN LOVE WITH YOUR BLOG ????♥️♥️